We are back with part two of our guide to the easiest parquet installation series! In part one we have talked about how much planning and considering the specific needs of the wood flooring is important for the success of the final product. After all, wood flooring is a pretty serious investment and we would like nothing but the best look and the most long-lasting construction, a lot of solidness too. This can be easily achieved and everything you need to do is to make sure that all-important initial steps are taken and not a single detail is overlooked.
Today, we continue with the parquet fitting method itself. Be sure to have a look at our professional advice and recommendations and you will be able to fit the most beautiful parquet wood flooring, so stay tuned for more!
Installation
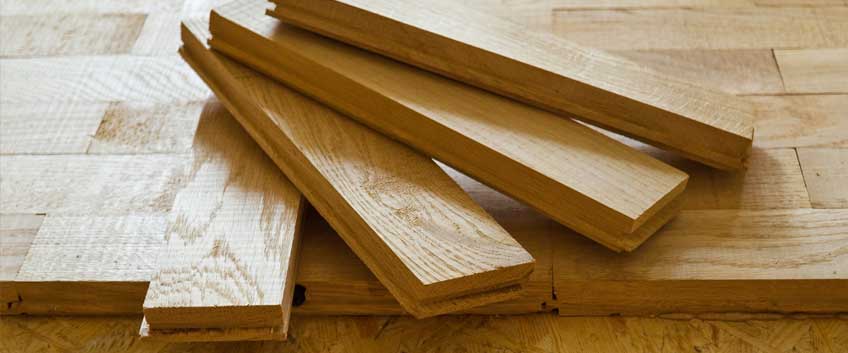
You have three main options when purchasing wooden blocks for your parquet floor and you can choose between unfinished, prefinished and reclaimed. In case you decide on reclaimed wooden blocks, then be sure they have to be cleaned, even scraped, if required. Not all the old adhesive have to be removed, just any that is loose and thick. Because of the old adhesive, make sure you fit the blocks in a bed with enough new adhesive to make a solid construction and give maximum depth. Be sure to clean all the tongue and groove parts well. Don’t worry about scratches on the surface, these can be easily sanded away after. Once you have decided on the desired pattern, you should mark a centre point to work as your guide and start laying the blocks from this point, sometimes referred to as a “dragon line”. Next, you continue with dry laying the blocks in the opposite direction and make sure there is an equal pattern of the parquet blocks across the floor. Then start glueing the blocks in place. Don’t forget to leave an expansion gap of 15 mm around the edges of the room. This gap will be then covered by skirting or moulding.
Fixing
The best way to ensure a very sturdy and solid construction is by glueing down the parquet blocks to the solid surface underneath.
Sanding and filling
When it comes to sanding a parquet flooring, this process has to be performed with caution. Parquet blocks cannot be sanded straight or diagonal as you would do with solid wood and engineered wood floors. Because of the specific pattern a parquet floor would have, the risk of standing against the grain of the blocks and that way causing faster wear and tear is huge, because of that you have to be experienced, or at least understand the process very well. It is best to hire an orbital finishing sander for the main part of the room and also an edge sander for all the details. New blocks that are unfinished will require only minimal sanding, prefinished ones won’t require sanding at all, but reclaimed wood is most probably in serious need of sanding. You can also fill deeper blemishes and scratches with wood filler.
Sealing
The final step is the application of a finishing product that adds extra protection and enhances the hard-wearing and damage-resistant power of wood. The best finishes recommended for parquet are a water-based lacquer or a hard wax oil.
Read More
Consider parquet flooring for your next home improvement project, it is this type of unique flooring that will never go out of style.
Looking for a sustainable and eco-friendly flooring option on the market? Parquet flooring is your best solution, learn more about its advantages here.
Parquet flooring is a great investment and comes with a bunch of benefits and advantages for you to enjoy. Discover some of the reasons why you would like to purchase it.
Pairing your parquet flooring with underfloor heating guarantees you will enjoy comfort, cosiness and cost-efficiency.
Choose between two of the most popular flooring options – parquet flooring and carpet – for your next home improvement project. Here is what to consider.


