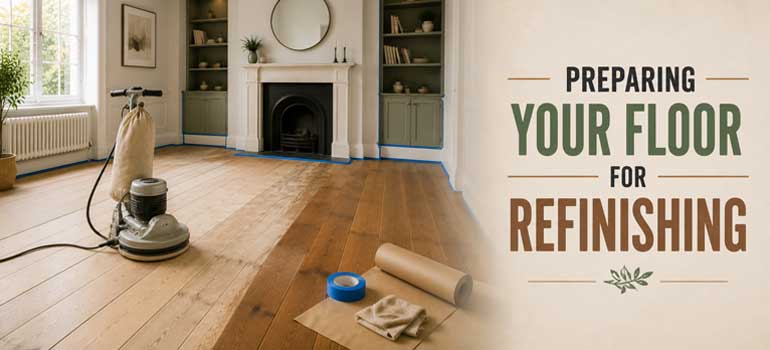
Refinishing brings a tired, scratched wood floor back close to its original condition, and modern dust-extraction equipment has made the process considerably less disruptive than the horror stories from decades past suggest. Solid wood can typically be refinished several times over its life, though exactly how many depends on the thickness of the wear layer, engineered wood has a more limited allowance given its thinner veneer, so it's worth checking your specific floor before assuming an unlimited number of future refinishes. Getting the preparation right beforehand genuinely does make the whole process smoother, so here's what's actually worth doing.
Clear the room
Furniture, rugs, decorations and anything else in the room needs to come out before sanding starts. Beyond simply being in the way, anything left behind risks getting dusty, scuffed or scratched during the process, and it makes it harder for the sanding to run smoothly and evenly across the whole floor.
Clean the floor first
It might seem pointless given the dust that sanding itself produces, but a clean floor genuinely makes for a smoother, more even result. Vacuum thoroughly, then mop with a product specifically designed for wood floors, so grit and debris aren't sitting on the surface when the sander starts working.
Hammer down protruding nails
Run a hand or a putty knife blade across the floor to check for any nail heads that have worked their way up over the years. Protruding nails can genuinely damage a sanding machine, catching the belt or drum and creating both a mess and visible scratches or dents across the floor. This is a small step that's easy to skip and genuinely worth not skipping.
Baseboards and trim: what actually needs removing
This is worth being more careful about than a flat "remove everything" instruction suggests, since professional practice genuinely varies here.
- Shoe moulding or quarter round, the small trim strip that sits at the base of the baseboard, is commonly removed, since it's small, relatively easy to take off and refit, and it tends to get in the way of edge sanding more than the main baseboard does
- The main baseboard often doesn't need removing at all if the job is being done by an experienced professional using a proper edging tool, which can sand right up to the trim without needing it out of the way
- Removing baseboards adds real cost and risk, since older trim can crack or splinter when pried off, and reinstalling it afterward means touch-up painting and the chance of visible gaps or mismatched paint where it meets the wall
- DIY rental sanders are the main reason this advice gets repeated as a blanket rule, since amateur equipment often can't get as close to the edge as professional gear can, making baseboard removal more genuinely necessary for a DIY job than a professional one
It's worth asking your contractor directly what their approach is and why, rather than assuming baseboard removal is an automatic requirement.
Protect the rest of the house from dust
Even with a good dust-extraction system, sanding rarely captures every last particle. Covering doors and windows with plastic sheeting, and protecting belongings in adjoining rooms, saves a genuinely unpleasant cleanup afterwards. Our guide to what to keep in mind about wood floor sanding covers more on what modern dust-controlled sanding actually involves.
If you're planning a refinish and want advice on preparation specific to your floor and trim, our parquet floor fitting team can talk it through before the work starts. Get in touch for a free quote whenever you're ready.
Frequently asked questions
Will my baseboards get marked even if they're left in place? Some light scuffing near the edge is possible even with a skilled professional using proper edging equipment, though it's usually minor and easy to touch up with paint afterwards. It's worth asking your contractor how they typically handle this before the job starts.
How long does floor preparation typically take before sanding can begin? For an average room, clearing, cleaning and checking for protruding nails can usually be done in an afternoon, though larger spaces or rooms with a lot of furniture and trim work take longer. Your contractor can give a more specific estimate based on your actual room.
Is it worth removing carpet tack strips or old adhesive residue before refinishing? Yes, any old fixings or adhesive residue on the floor should be dealt with before sanding starts, since sanding over them can damage the equipment in the same way protruding nails can. It's worth mentioning any history of previous flooring in the room to your contractor in advance.
Do I need to move electrical outlet covers or vents before sanding? It's worth sealing vents to stop dust getting into your home's ductwork, and it's sensible to keep outlet covers clear of dust during the process too. Your contractor may have their own standard approach to this as part of their dust protection setup.
Can I stay in the house while refinishing is happening? It depends on the extent of the work and your tolerance for the noise, dust and fumes involved, particularly with oil-based finishes that take longer to cure. Many people choose to be out of the house, or at least out of the affected rooms, for the most disruptive part of the process.